
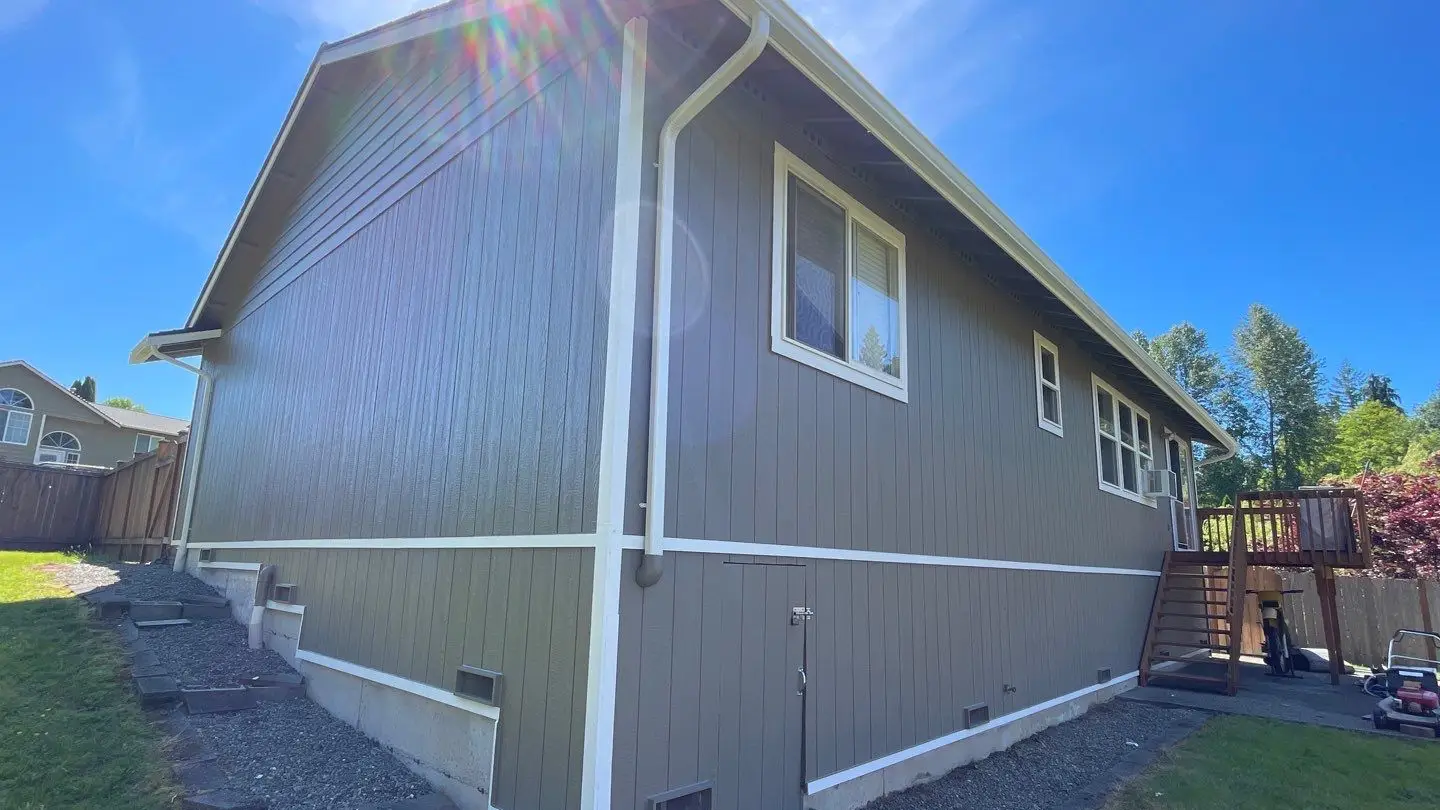
When you plan siding replacement, the first sample you pick might be the board that covers most of the wall. Step back and look at the details that frame it, including the corners, garage door, windows and vents. A few changes to these details can make the same lap siding look very different on a Granite Falls home.
Cedar trim can sit alongside fiber cement siding. The combination works best when you decide where to use each material, how the surfaces will be finished and what the joints need before work starts. Here is what to bring to a conversation about siding replacement in Granite Falls.
Choose where the cedar will go
Start with a photo of each side of the house. Mark the spots where you want to add definition, such as a wide garage opening or the corners of a front projection. On a home with several rooflines and a prominent garage, repeating the same trim color can tie those elements together. A quieter side wall may need fewer accents.
- Outside corners. Compare how wide and deep the corner boards look where the horizontal siding ends. Ask to see a sample corner assembled with the siding profile.
- Garage casing. Look at the width from the driveway. Review how the casing meets the head of the opening and the apron below.
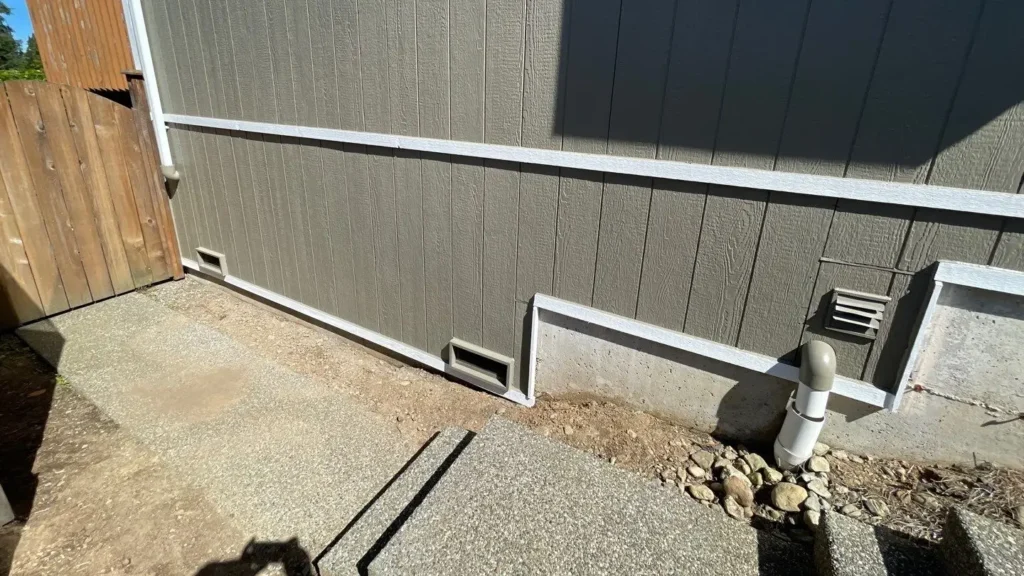
- Vents and fixtures. Confirm which existing items are staying or changing and how the selected trim will meet them. A vent needs to keep doing its job once the siding work is finished.
Look at the siding and trim samples together
Hold the samples upright against the exterior and look at them from the driveway as well as up close. A textured lap board and a smooth trim board can look more distinct than two small color chips suggest. Compare the samples on an exposed wall and a shaded one. Include the roof, garage door and any masonry you plan to keep when judging the color.
Ask your contractor to show the installed look, including the portion of each lap board that remains visible. If you are considering different cladding profiles, review the fiber cement siding options before settling on trim widths and finishes.
Decide where the extra trim work is worth it
Imagine a house with an attached garage, a recessed front door and a long wall facing the yard. One option is to use cedar at the garage opening and entry, where you see it every day, and carry a simpler painted trim detail along the side. Another is to repeat the cedar on every outside corner so the design reads consistently as you walk around the house. Ask for those options as separate estimates if you want to see how the amount of woodwork affects the scope.
Use a marked-up photo to decide where the wall color ends and the trim color begins. On a house with a projecting garage, even a small color change can make the garage more prominent. If you want the entry to draw the eye first, compare a closer color match at the garage with a more defined frame around the entry. Look at the whole wall before approving the individual samples.
Can existing trim stay in place?
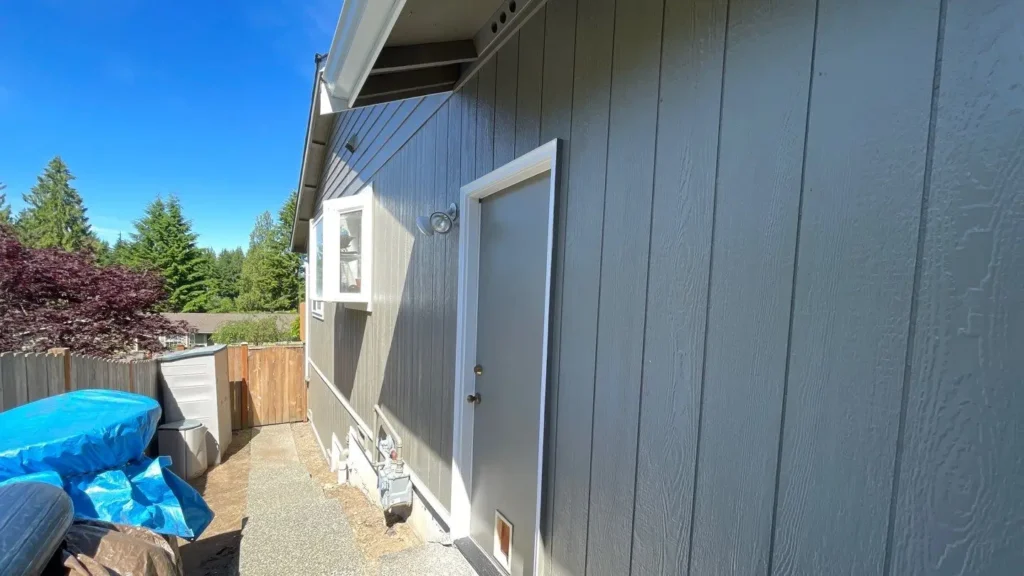
It depends on the condition of the wood and how it connects to the new wall assembly. Ask the contractor which boards can be inspected before removal and which may need a decision once the old siding comes off. If a window surround is sound, ask whether its profile and depth suit the new siding. If nearby trim is soft, split or loose, have the contractor check the area before making a decision about reuse.
Review the joints before approving the finish
The top of an opening, the sides of an opening and the bottom of a trim board each handle water differently. Ask the contractor to walk you through the flashing above openings, the transition to the wall’s water-resistive barrier and the clearances where the assembly approaches roofing, paving or grade. Ask which joints are sealed and which gaps are left open for drainage according to the product instructions.
Put the cedar finish in the scope alongside the siding finish. Clarify how the wood will be prepared, what coating is compatible, and who handles the cut ends and later touch-ups. If you want to see the grain, compare stained samples with painted ones and ask about the upkeep of each. Collect the finish product and color details for future maintenance.
See how the materials work together on a local home
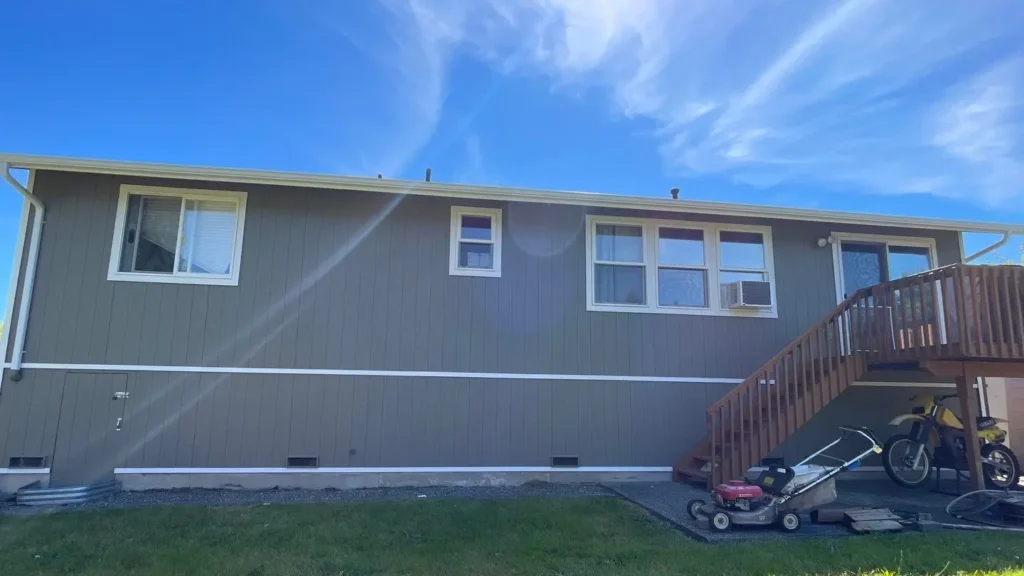
In this Granite Falls Allura siding project, the crew used rustic lap siding on the walls, narrower cedar boards at the outside corners and wider cedar casing at the garage. A cedar vent and two exterior paint colors completed the design. The project shows how trim widths can respond to the scale of each feature while repeating materials and colors across the house.
Make a plan for repairs discovered during removal
An estimate can describe the visible work and still leave questions about what is behind the old siding. The local Granite Falls project included water-damage repairs along with the new siding and trim. For your own project, agree on how the contractor will show you a concealed issue, explain the proposed repair and price any change before closing the wall. Ask who needs to approve extra work and where that approval will be recorded.
Keep a maintenance record for the cedar and siding
At the final walkthrough, ask for a simple record of which surfaces are cedar, what finish was applied and which product instructions apply to the cladding. Note where future touch-ups are likely to be visible, such as a corner facing the driveway. Keep a photo of the finished wall in the same folder so you can compare any change you notice later.
When should you check the finish?
Ask for a schedule based on the coating and the exposure of each wall. A sheltered entry and a corner exposed to wind-driven rain can age at different rates. During a visual check from ground level, note peeling, exposed wood or a dark area that returns after the surface dries. Take a photo and ask the contractor to assess recurring changes before applying a new coat. The Western Red Cedar Lumber Association’s finishing guide explains how surface preparation and coating choices affect the finish.
Bring a short materials list to the estimate
Write down the siding profile, each location that will receive cedar, what will remain in place and the finish you want to compare. Ask to see the trim dimensions, opening and drainage details, paint responsibilities and maintenance instructions in the scope. A photo marked with your preferences gives the contractor a starting point for explaining which details fit the house.
For help coordinating siding and trim on your home, request a consultation with KV Construction or call (425) 879-4398.